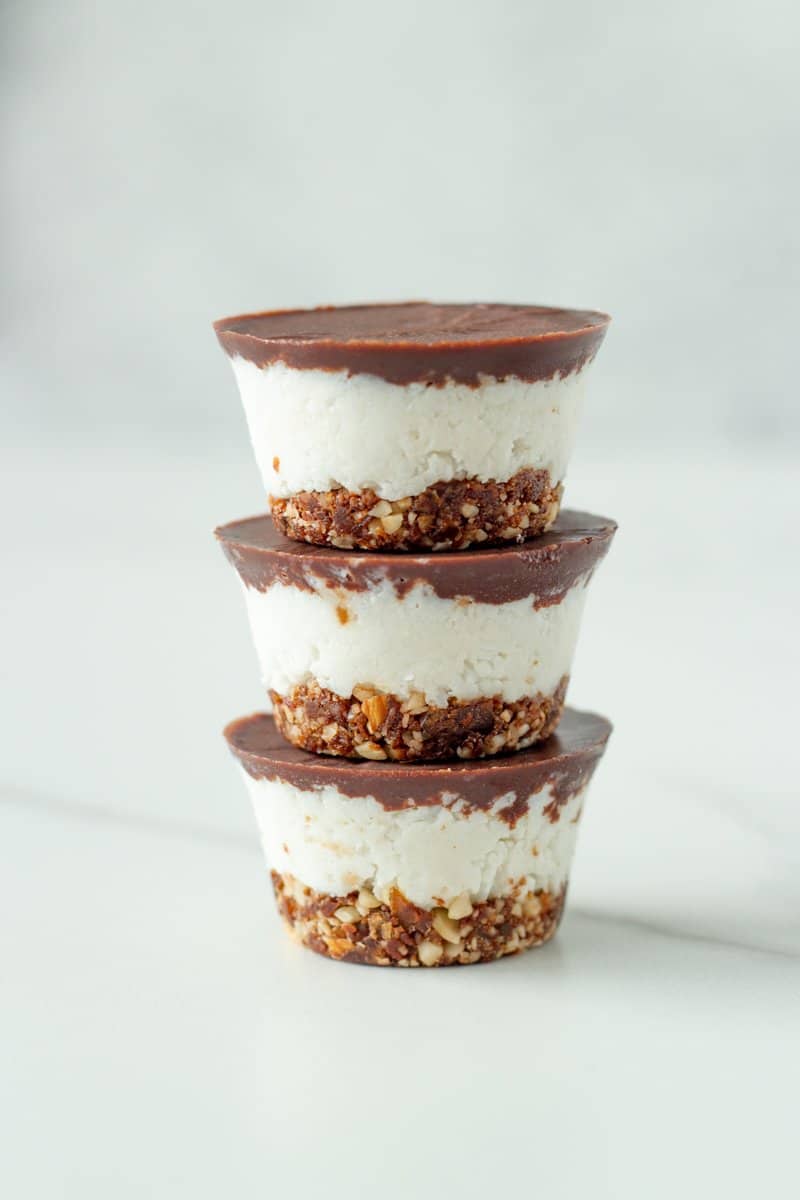
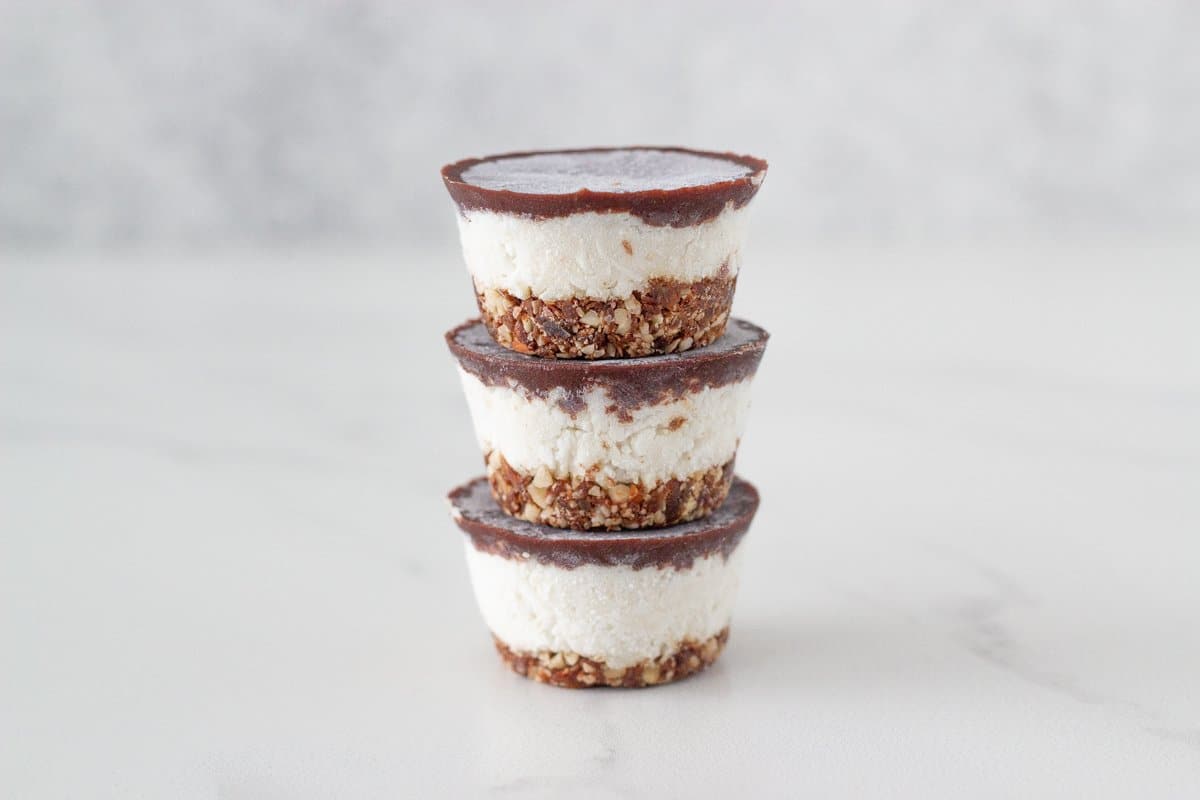
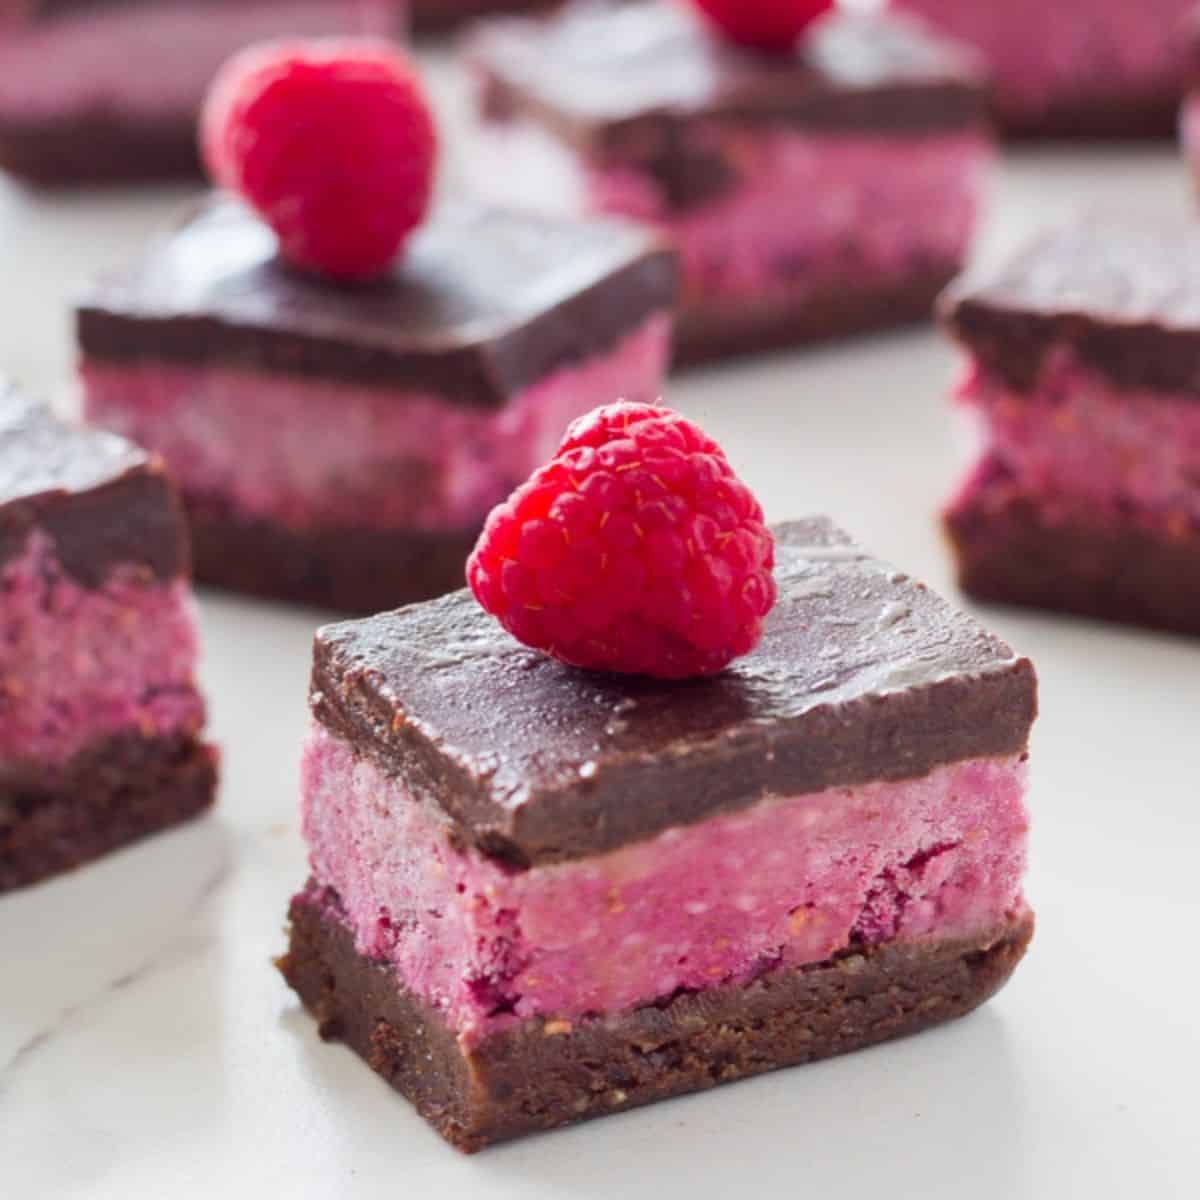
No Bake Bounty Slice Bites
These No Bake Bounty Slice Bites are made with three delicious layers, a chocolate nut base, creamy coconut centre and a raw chocolate layer on top.

You really can’t go wrong with raw chocolate coconut desserts. They go together beautifully and you can make a lot of raw desserts with these two flavours.
Think cakes, bars, slices, and definitely raw desserts, including these Raw Bounty Bites and this Raw Bounty Slice.
WHY YOU WILL LOVE THIS RECIPE
- They seriously taste like the Bounty Bar chocolate, only with much healthier ingredients and no nasty additives and preservatives.
- They are really easy to make, all you need is a food processor (or a good blender) and a mini muffin tray (silicone preferably).
- The ingredients can be bought from any of the major supermarkets. No need to go trekking to find the ingredients.
- They are gluten free, dairy free, refined sugar free and vegan friendly.
INGREDIENTS YOU NEED
- Organic shredded coconut
- Coconut oil
- Coconut milk
- Medjool dates – important to use these dates as they are sticky
- Raw Nuts (either cashews, macadamias or almonds)
- Cacao powder
- Maple syrup
- Vanilla extract
- Sea salt
HOW TO MAKE
I love making no bake mini raw slices like these no bake mint slice bites and these no bake cheesecake bites and these raw caramel slice bites.
This is a super easy dessert to make and I highly recommend that you use a silicone mini muffin tray. There are three layers and you prepare each layer, then place them in the freezer, while you make the next layer.
RECIPE TIPS & FAQS
I highly recommend using a silicone mini muffin tray. It will save you a bunch of time and is a lot easier to use.
You may find it useful to dip the bottom of the spoon in some coconut oil before smoothing the layer.
I recommend storing them in an airtight container in the freezer and getting them out a few minutes before freezing.
I highly recommend using Medjool dates. Medjool dates are sticky so they really bind together all the ingredients really well.
If you use regular dates, you will most likely find that the mixture will not hold and you will need to use a little bit of coconut oil or nut butter to make the bliss balls.
Looking for other coconut dessert recipes? Try these:
Lastly, I would love to hear from you if you make this recipe. You can either leave a comment and/or give this recipe a rating! If you do make this recipe, please tag me on Instagram! It really makes my day when I see your creations of my recipes.
No Bake Bounty Slice Bites
Ingredients
Base layer
- 6 medjool dates
- 1/3 cup raw cashews macadamias or almonds
- 1 tablespoon cacao powder
Coconut layer
- 1/8 cup coconut oil melted
- 1/2 cup coconut milk canned variety
- 2 tablespoons maple syrup
- 1 teaspoon vanilla extract
- 1/4 teaspoon sea salt
- 1 1/2 cups shredded coconut
Chocolate layer
- 1/3 cup coconut oil
- 2 tablespoons maple syrup
- 1/3 cup cacao powder
Instructions
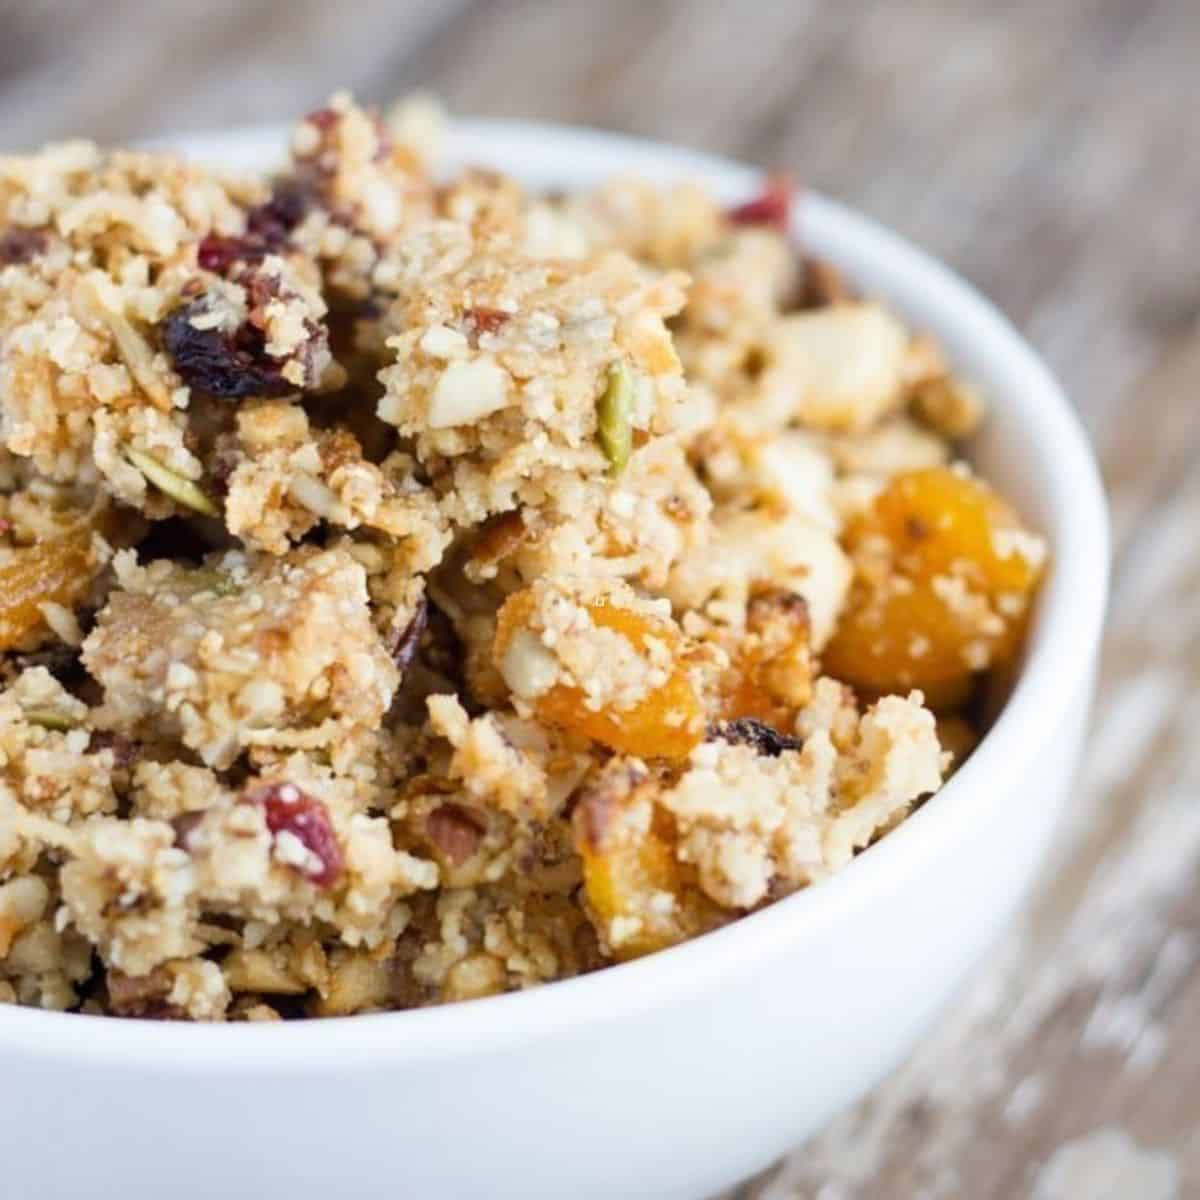
- To make the base. Process the nuts in a food processor or blender until they resemble fine crumbs. Next, add the cacao powder and process until well combined. Then, add the dates and process until a sticky dough is formed. Spoon mixture into a 24 mini muffin pan and press down with the back of a teaspoon. Place in the freezer while you make the next layer.
- To make the coconut layer.Aadd the melted coconut oil and coconut milk to a medium size bowl and whisk to combine well (you want to make sure that there is no separation between the oil and milk). Next, add the maple syrup, vanilla extract and sea salt and mix well. Then, add the shredded coconut and mix until well combined. Add to the bases and smooth over with the back of a teaspoon and place into the freezer while you make the step.
- To make the chocolate layer. Melt the coconut oil in saucepan on low heat. Once melted, add the maple syrup, whisking briskly until well combined. Then add the cacao powder, stirring until well mixed through. Using a teaspoon, spoon the chocolate on top of the coconut layer. Put back into the freezer and let it set completely (around 3-4 hours).
Notes
- I highly recommend using a mini muffin silicone tray as makes the process a whole lot easier. Alternatively, you can use a regular mini muffin tray with mini muffin cases or you can cut out little strips of baking paper to use as tabs.
- When smoothing the layers, you may find it useful to dip the bottom of the spoon in some coconut oil before smoothing the layer. It helps to smooth the layer out.
- I keep mine stored in the freezer in an air-tight container and remove them a few minutes before serving.
- The additional time is the time it takes for it to set.


Delicious! Can i store them in the fridge once they’ve set in the freezer?
you can, but they will be a bit softer. But still amazing!
will the coconut layer & chocolate layer thicken up when whiped
The coconut layer is already thick and firms up when it sets in the freezer. The chocolate is a liquid and there is not whipping required. It firms up in the freezer. You can add a double layer if you wanted a thicker layer of chocolate.