No-Bake Chocolate Raspberry Brownies
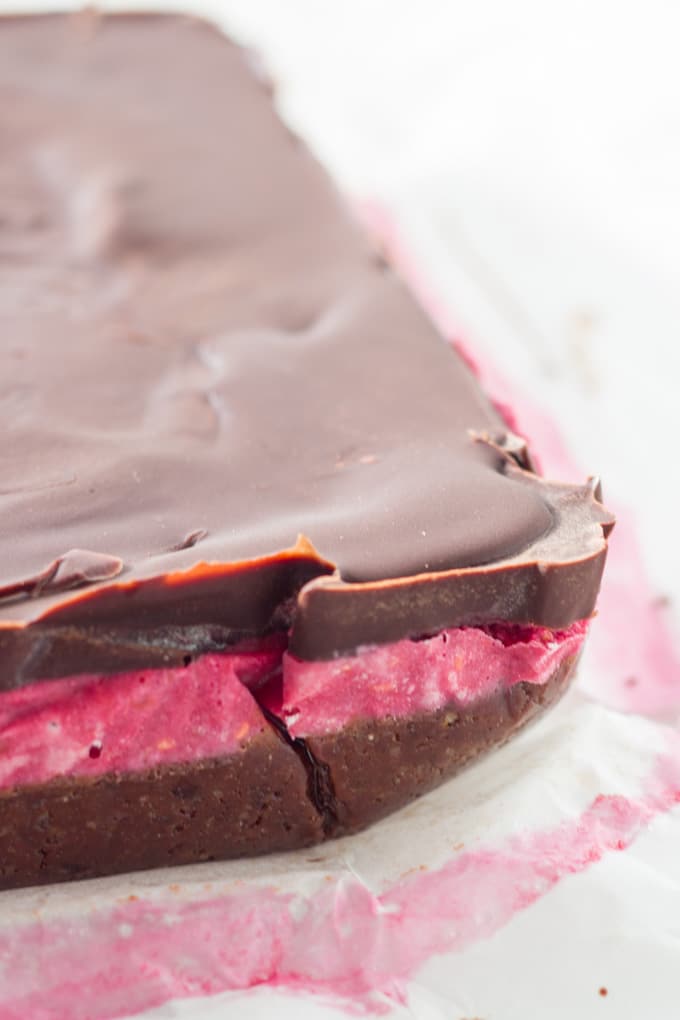
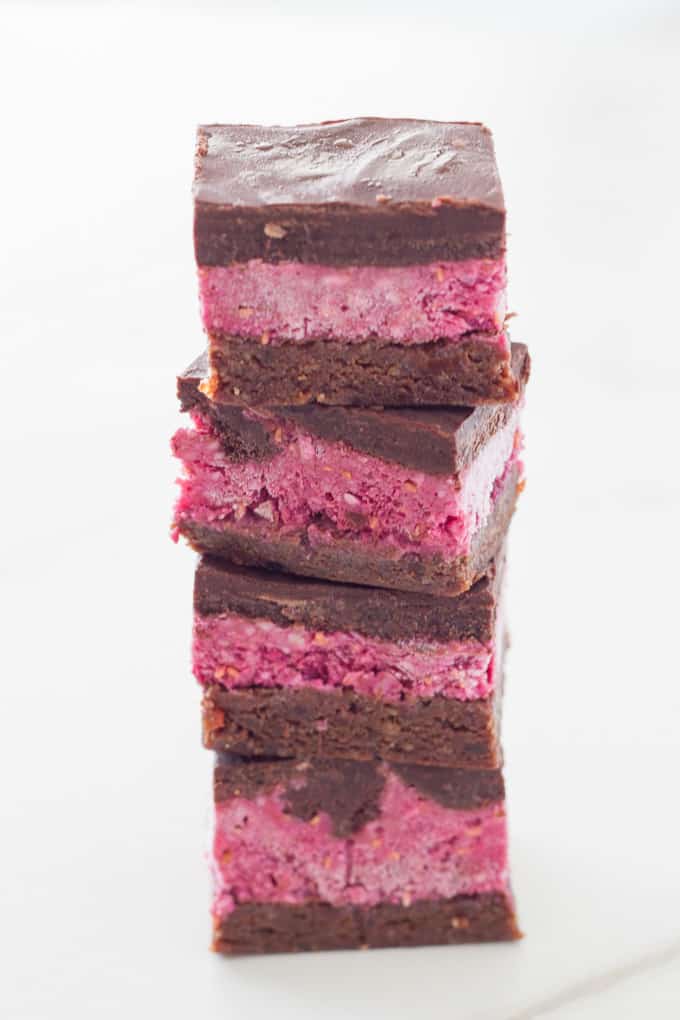
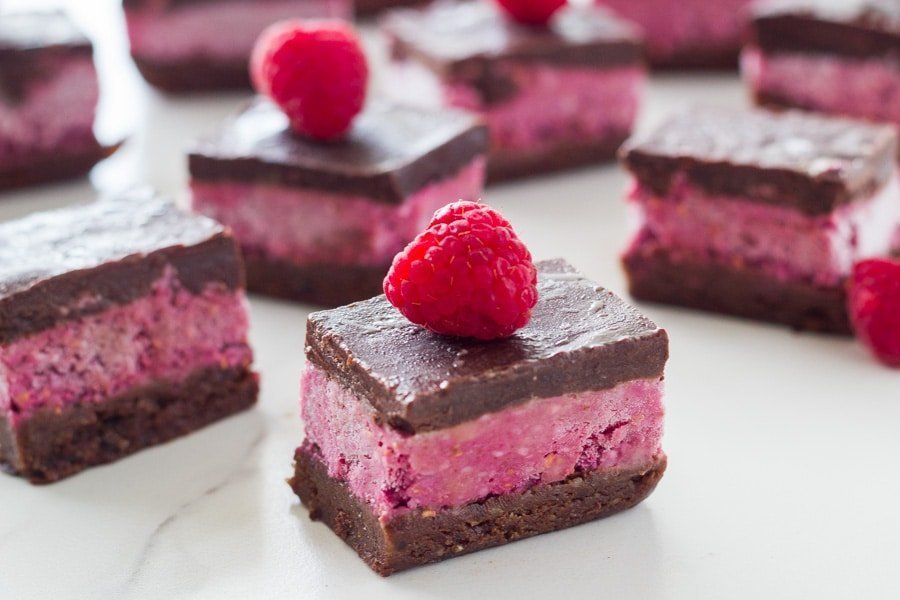
These No-Bake Chocolate Raspberry Brownies will become your favourite raw dessert. These brownies are made up of three layers that go so beautifully together – the ‘chocolatey’ brownie base, the ‘gorgeous’ raspberry layer and to top it off a layer of raw chocolate. Also included are the Thermomix instructions.
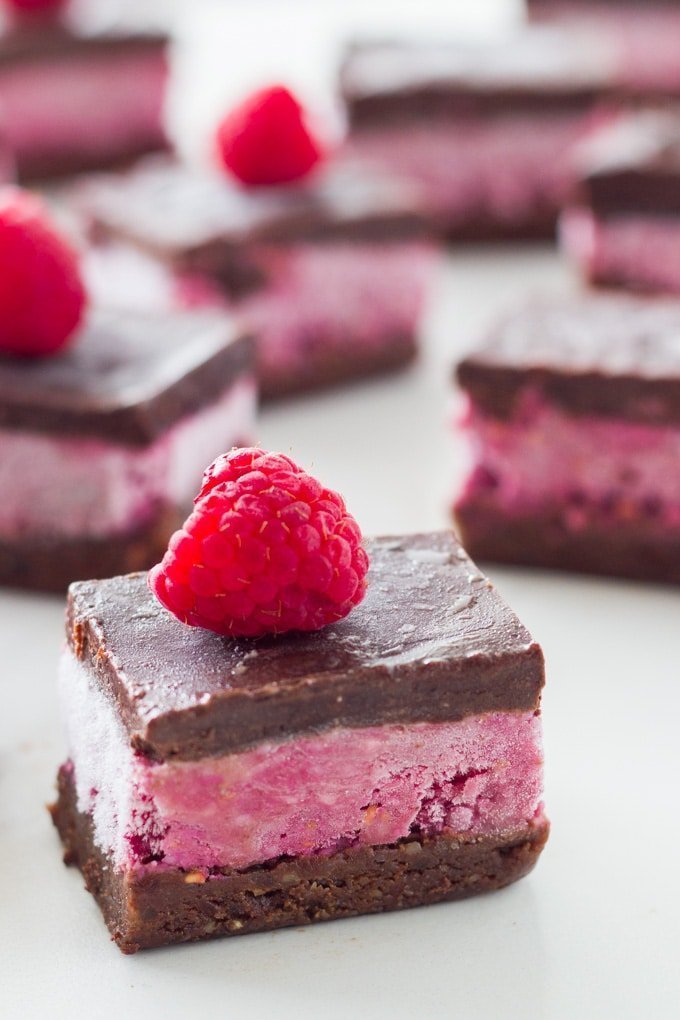
This recipe combines two of my favourite raw desserts recipes – chocolate raspberry bars and raw chocolate brownies to make one super tasty dessert. This raw dessert also looks stunning with the bold pink from the raspberries against the chocolate.
RECIPE FEATURES
Gluten & Dairy Free – like all my raw desserts, they are gluten & dairy free.
Easy to Make – this is one of the easiest desserts to make as long as you have a food processor or a good blender.
Thermomix Instructions Included – I have included the Thermomix instructions in the recipe notes.
INGREDIENTS
- Fresh raspberries – you can also use frozen if you don’t have fresh available
- Walnuts
- Cashews – you can also macadamias or blanched almonds
- Medjool dates – important that you use medjool almonds to ensure that the base ingredients stick together.
- Shredded coconut or you can use desiccated coconut
- Coconut oil
- Maple syrup or honey or brown rice syrup
- Cacao powder
- Vanilla extract or vanilla paste
- Sea salt
STEP BY STEP INSTRUCTIONS
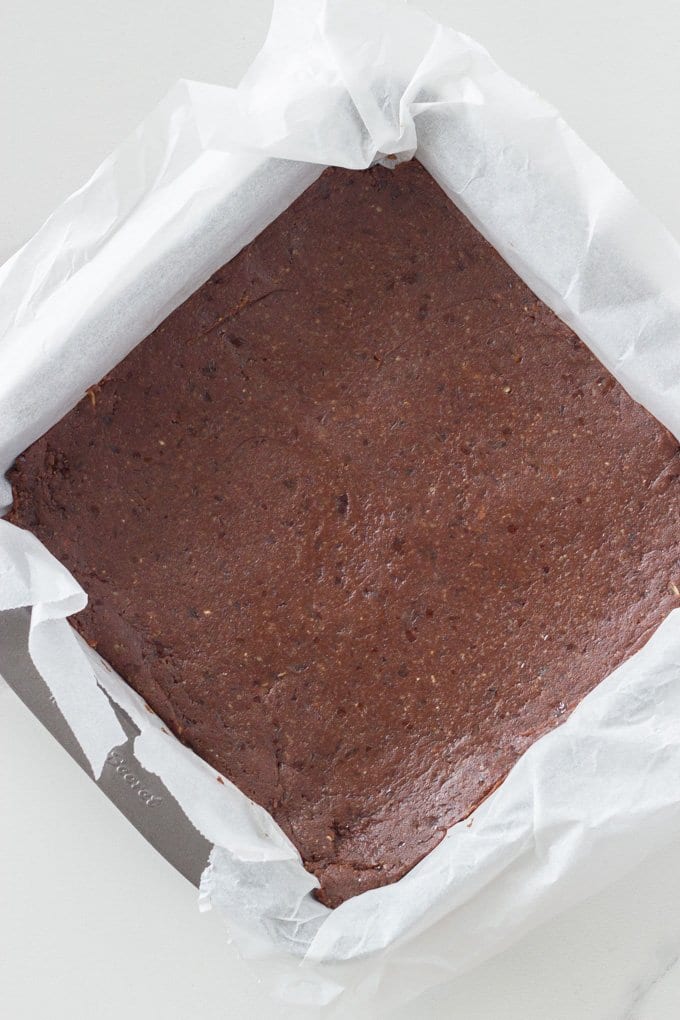
STEP 1: The brownie base is first and is so easy to process in your food processor/high speed blender/thermomix.
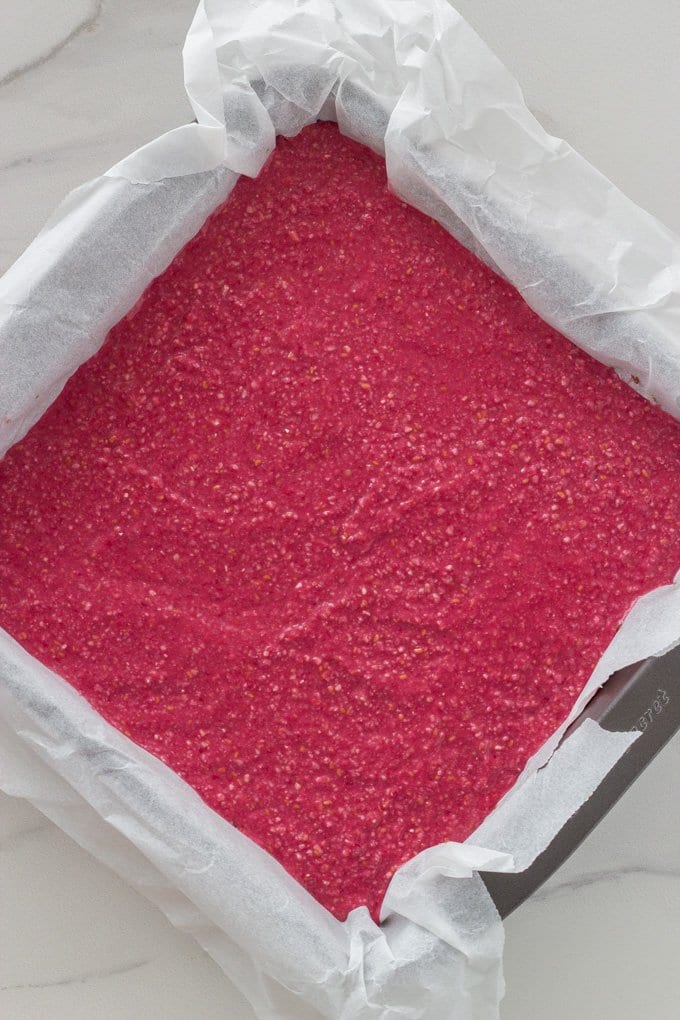
STEP 2: Next you have the raspberry layer and is the easiest of layers to make. Throw everything in your food processor/high speed blender/thermomix and process. And then pour over the brownie base and place in the freezer to set for an hour.
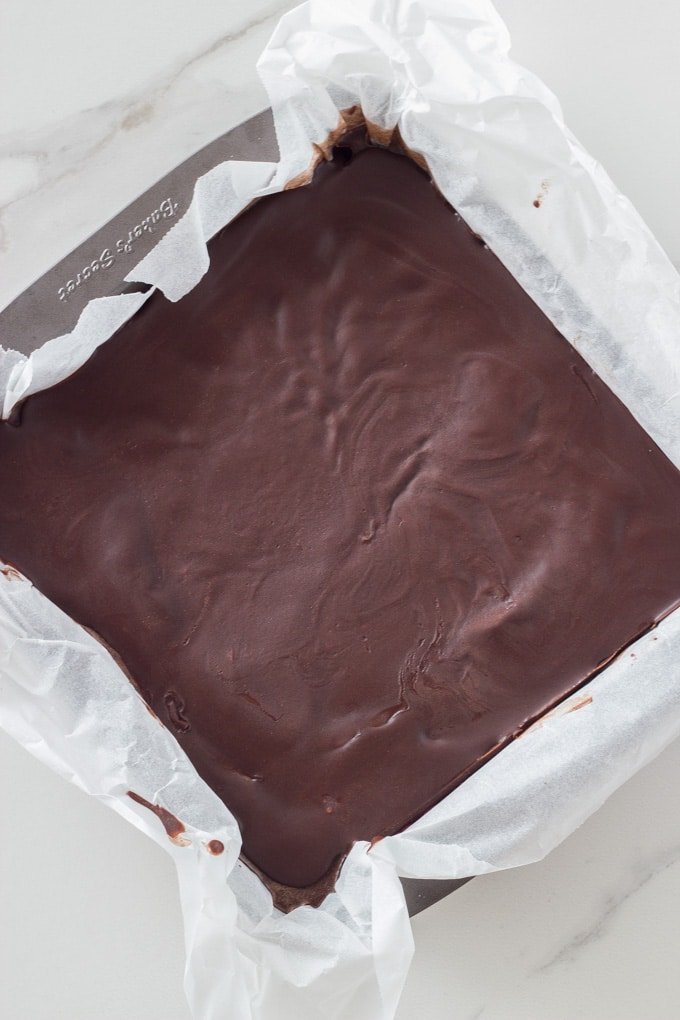
STEP 3: Once your raspberry layer has set for a bit, you can then make the chocolate layer and then pour it over the top. Then you need to be patient and let it set completely, at least 5-6 hours or overnight if you can.
HOW TO MAKE USING YOUR THERMOMIX
- To make the brownie base, add the walnuts to your thermomix bowl and process at speed 7 for 4 seconds. Then add the remaining base ingredients and process for 10 seconds at speed 7. Spoon mixture in a lined slice (or cake) tin and smooth over with the back of a spoon or spatula. Place in the freezer while you work on the next layer.
- To make the raspberry layer, add all your raspberry layer ingredients to your thermomix bowl and process for 20 seconds on speed 7. Spoon the mixture on top of the base layer and smooth over with the back of a spoon or spatula. Place into the freezer to set for an hour.
- To make the chocolate layer, first add the coconut oil to your thermomix bowl and heat for 1 minute at 90 degrees on speed 2. Then add the maple syrup and process for 3 seconds on speed 4. Then add the cacao powder and process for 10 seconds on speed 5. Pour (or spoon) the chocolate on top of the raspberry layer and make sure it is evenly spread. Place back in the freezer for 5-6 hours or overnight if possible.
- When frozen completely, remove from the tin and slice straight away and store in an air tight container in the freezer.
STORAGE
I always keep my raw and no-bake slices in the freezer as one of the layers (usually the middle layer) tends to soften easily. In this case it is the raspberry layer, so I recommend keeping the slice in an airtight container in your freezer.
TOP TIP
To ensure that the chocolate layer does not crack when slicing, always make sure that the layers are completely frozen before you cut the slice. Also,use a very hot knife to cut the slice. I run a knife under hot water and then wipe with a tea towel before slicing. Repeat as necessary.
RECIPE FAQS
This slice is best kept in an air tight container in your freezer. The raspberry layer will be too soft if you keep this slice stored in your refrigerator.
Yes you can. Either works well!
I highly recommend using Medjool dates to make the base. Medjool dates are sticky so they really bind together all the ingredients really well.
If you use regular dates, you will most likely find that the mixture will not hold and you will need to use a little bit of coconut oil or nut butter to make the bliss balls.
MORE RAW AND NO-BAKE RECIPES TO ENJOY
DID YOU MAKE THIS RECIPE?
I would love to hear from you. You can either leave a comment below and/or give this recipe a rating! If you do make this recipe, please take a photo and share it on Instagram tag #becomingness
No-Bake Chocolate Raspberry Brownies
Ingredients
Brownie Base
- 2 cups walnuts
- 1 ½ cups medjool dates
- ⅓ cup cacao powder
- 1 teaspoon vanilla extract
- Pinch of sea salt
Raspberry layer
- ¾ cup cashews or macadamias or blanched almonds
- 2 ½ cups raspberries fresh or frozen
- ⅓ cup maple syrup
- 3 tablespoons shredded coconut
- 2 tablespoons coconut oil
Chocolate Layer
- ⅔ cup coconut oil
- 4 tablespoons maple syrup
- ⅔ cup cacao powder
Instructions
- Make the brownie base. Process the walnuts in a food processor until they resemble fine crumbs. Next add the dates, cacao powder, vanilla extract and sea salt and process until well combined and a sticky dough is formed. Spoon the mixture into a lined slice (or cake) tin and smooth over with the back of a spoon or spatula. Place in the freezer while you work on the next layer.
- Make the raspberry layer. Process all the ingredients in a high speed blender/food processor until smooth. Spoon the mixture on top of the base layer and smooth over with the back of a spoon or spatula. Place into the freezer to set for an hour.
- Make the chocolate layer. Melt the coconut oil in a saucepan on low heat. Once melted, remove from the heat and the maple syrup, whisking briskly until well combined. Then add the cacao powder, stirring until well mixed through. Pour the chocolate on top of the raspberry layer and make sure it is evenly spread. Place back in the freezer for 5-6 hours or overnight if possible.
- Slice and store. When frozen completely, remove from the tin and slice straight away and store in an air tight container and keep in the freezer.
Notes
- To ensure that the chocolate layer does not crack when you slice it, I recommend using hot knife, which I run under hot tap water and then lightly dry with a tea towel.
- I also recommend keeping it stored in the freezer and allow it thaw for a few minutes before serving.
- The cook time does not include the time it takes for this dessert to set in the freezer
- Thermomix Instructions are included in the main post

How are these different from the Raspberry Chocolate slice? The ingredients looks similar. What am I missing please?
It has the brownie base the other raspberry slice does not 🙂
This looks delicious! Is it possible to use frozen raspberries instead of fresh (too expensive/out of season)? Thanks.
Yes you can use frozen raspberries 🙂