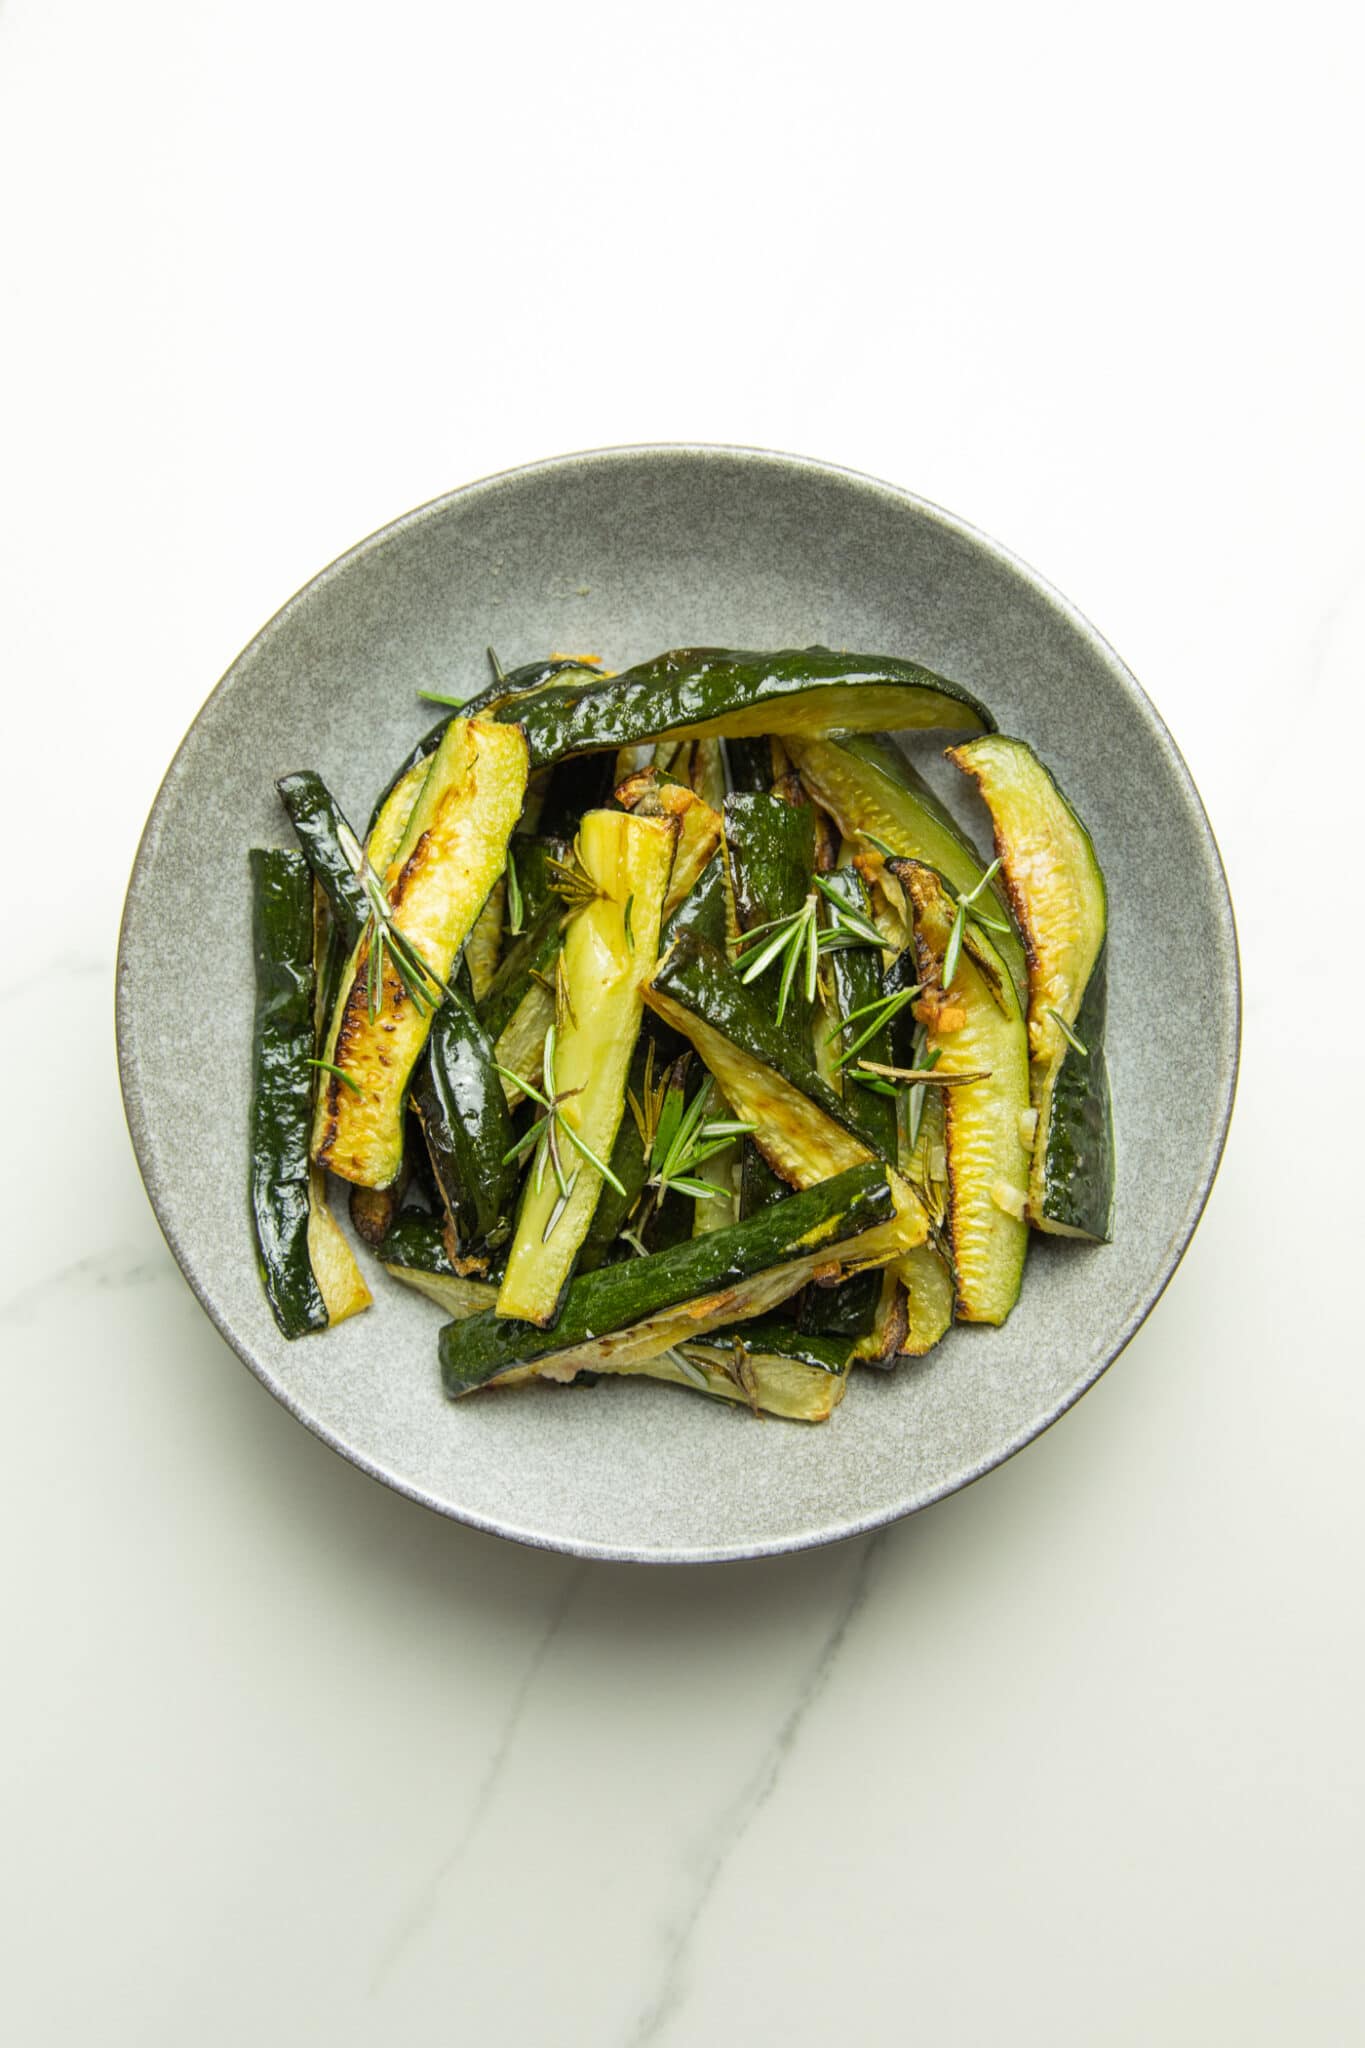
Simple Baked Zucchini Wedges
These Simple Baked Zucchini Wedges are so easy to make and are packed full of flavour. They make a great side to any meal or are great on their own as a healthy snack.
If you are looking for an easy zucchini recipe that you can add to your meal or have as an appetizer, then these vegan zucchini fries are a must try. They don’t require any crumbing. Just slice the zucchini, add the flavours and bake in the oven.
They don’t crisp up like crumbed zucchini wedges tend to do, but you can get them slightly crispy. My favourite thing about them is the amazing flavour and I often have them as a healthy snack with some garlic aioli.
What you’ll love about this recipe:
INGREDIENTS

Zucchini – any medium to large zucchini will work for this recipe.
Rosemary – other herbs like oregano, chives or even a mix of herbs. Dried herbs also work well.
Garlic – You can use either fresh garlic or even garlic powder to make these fries.
Salt – I forgot to add the salt to the ingredients photo, but I used a pinch of salt in this fries recipe.
STEP-BY-STEP INSTRUCTIONS
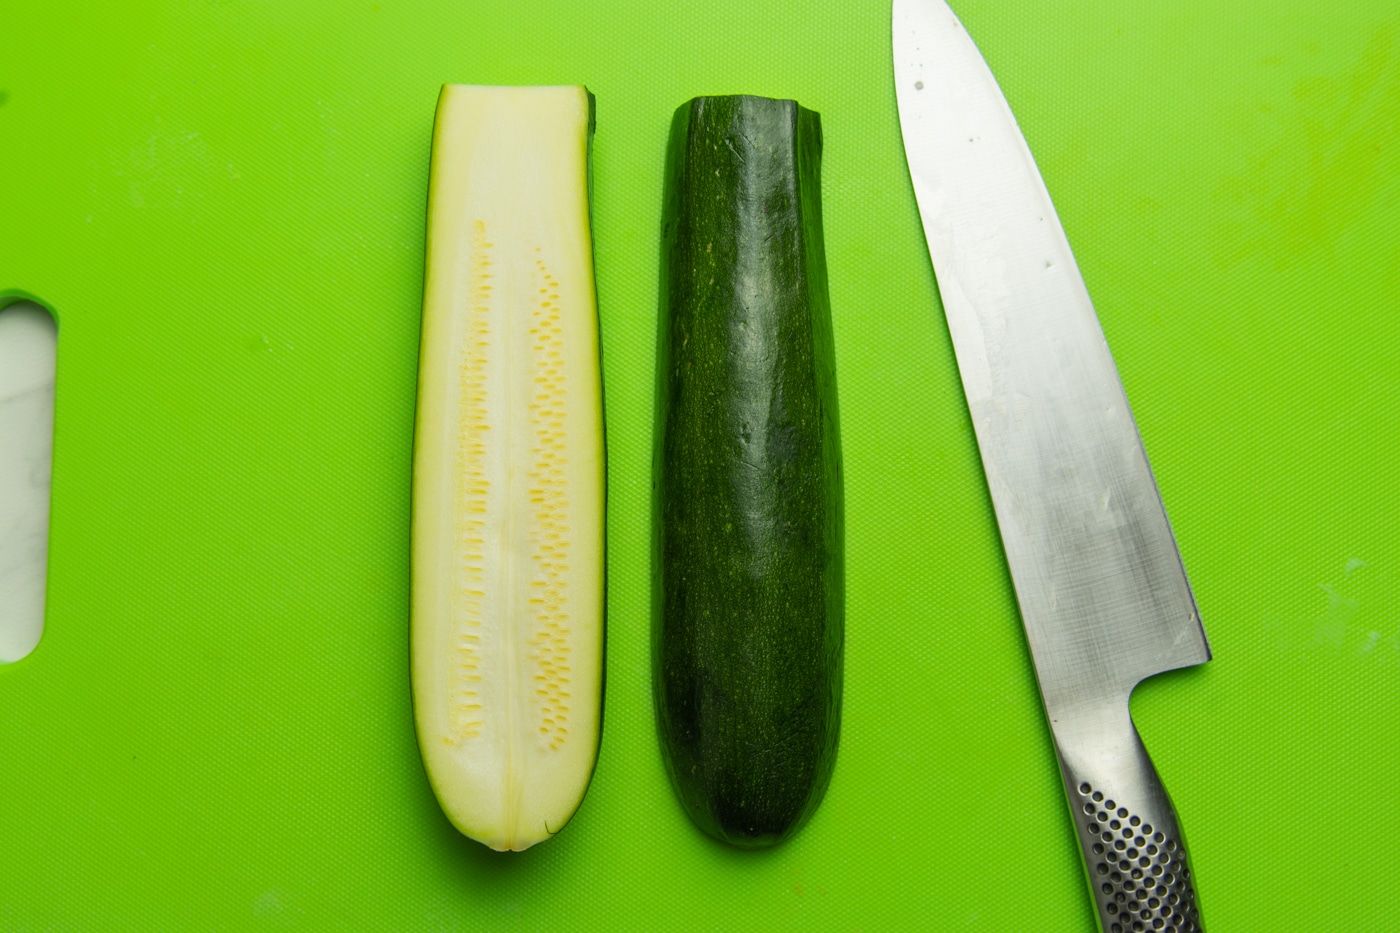
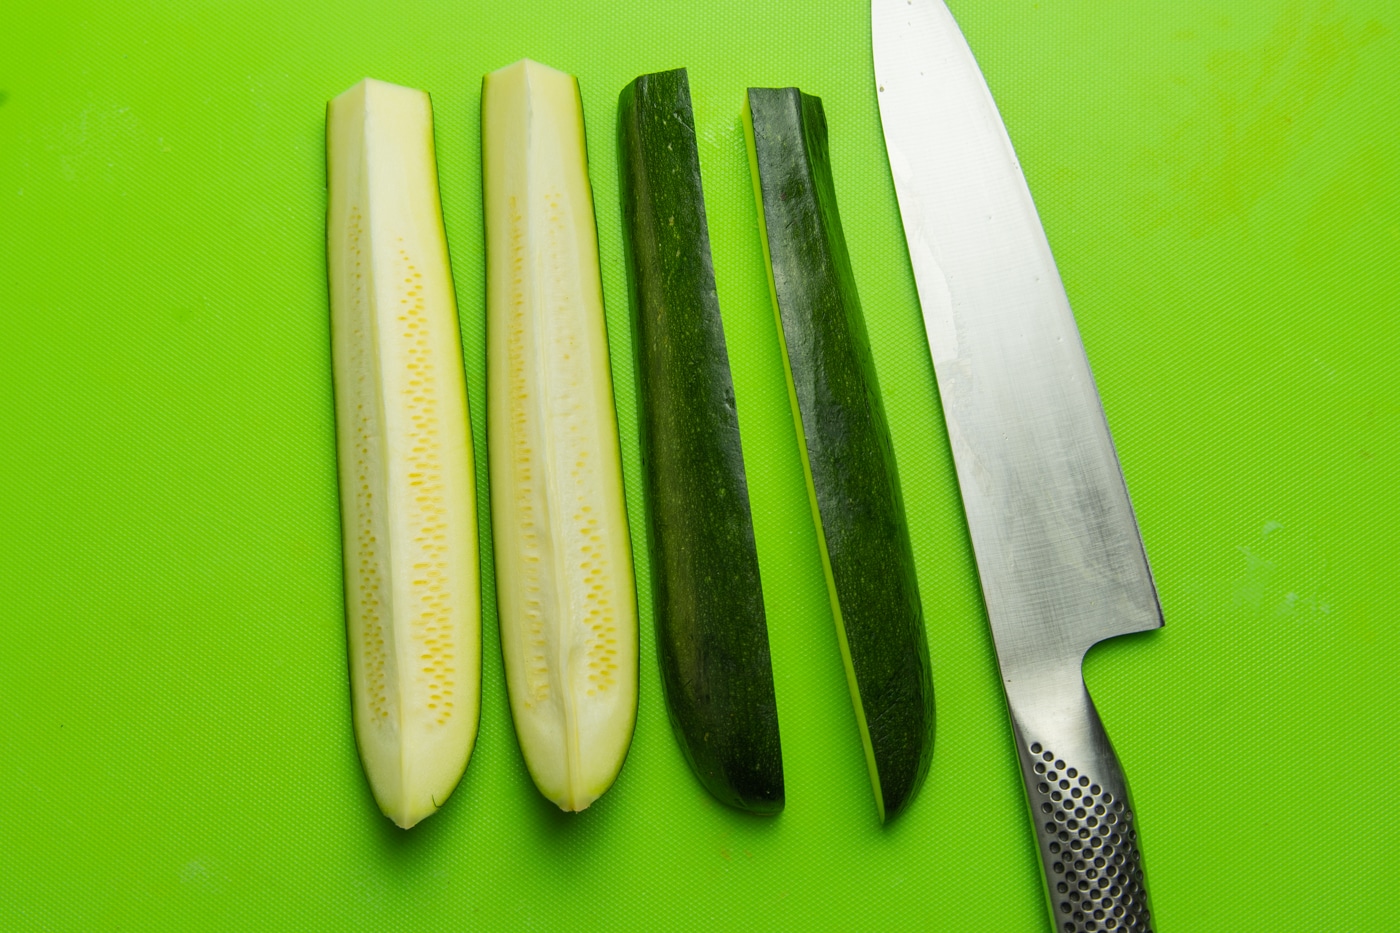
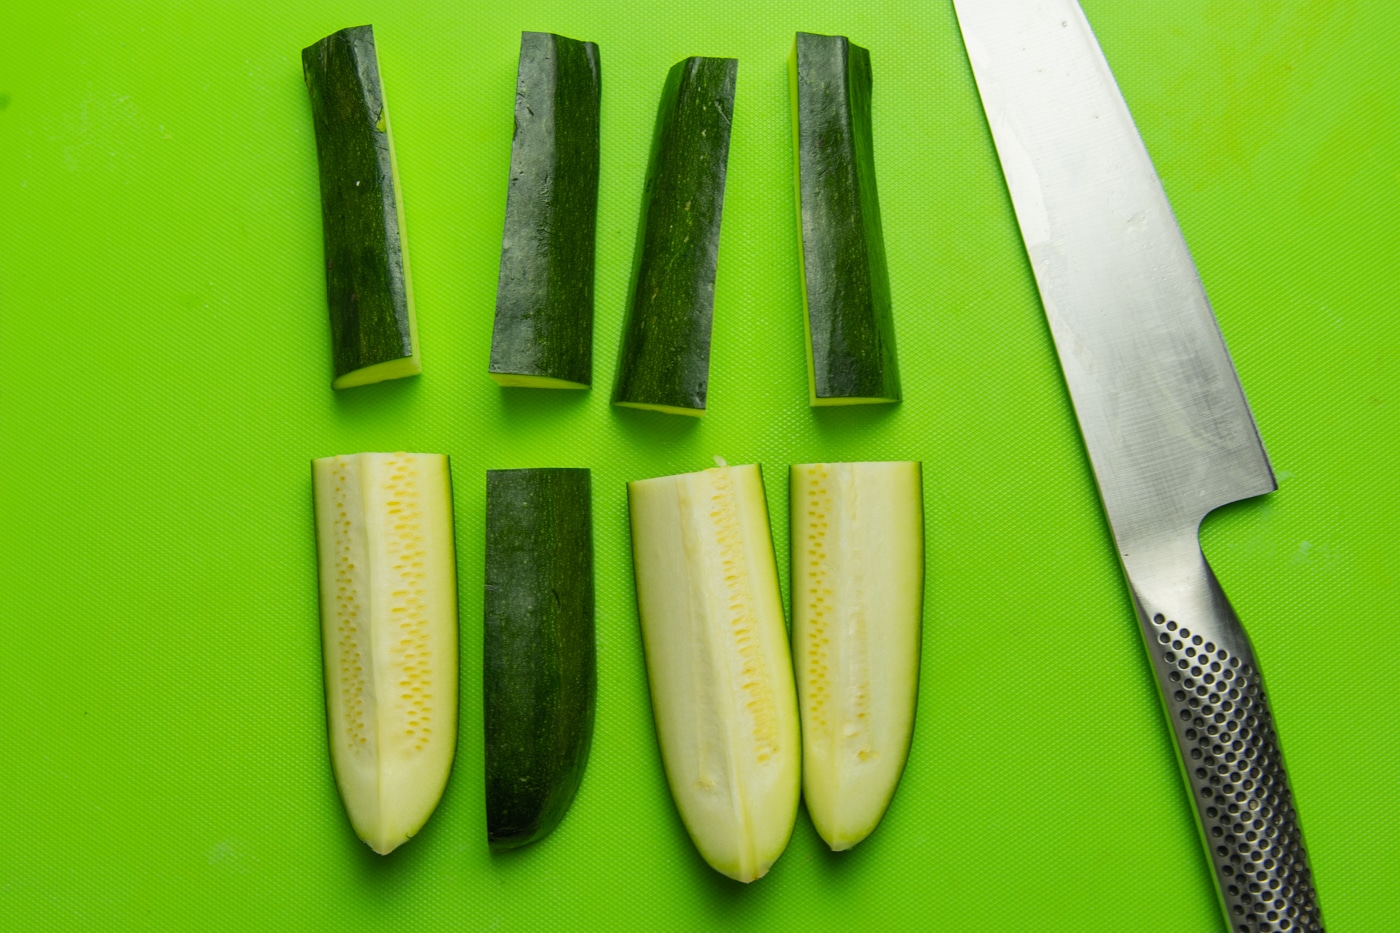
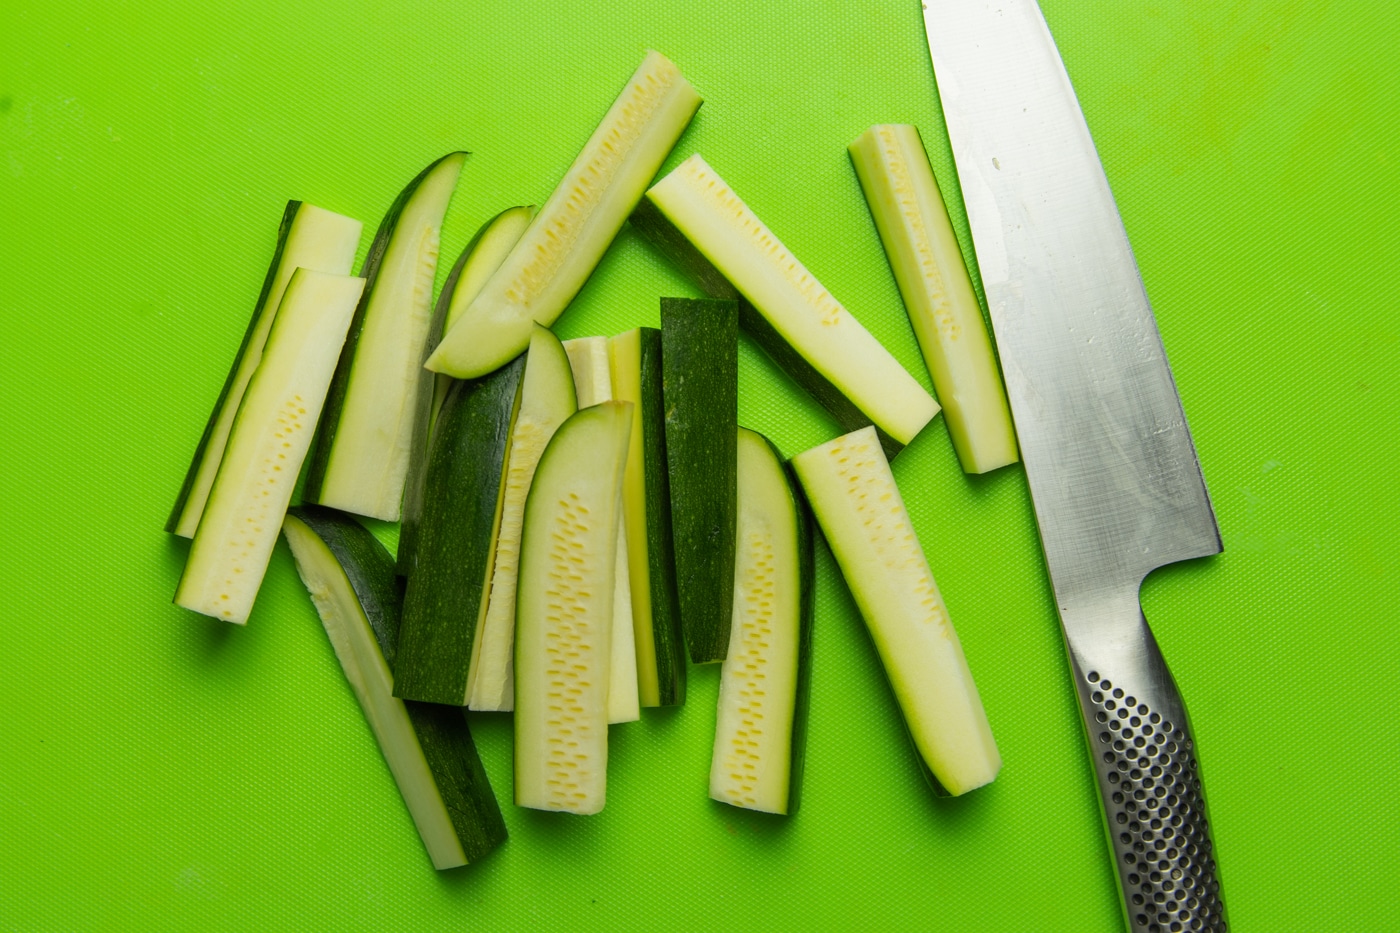
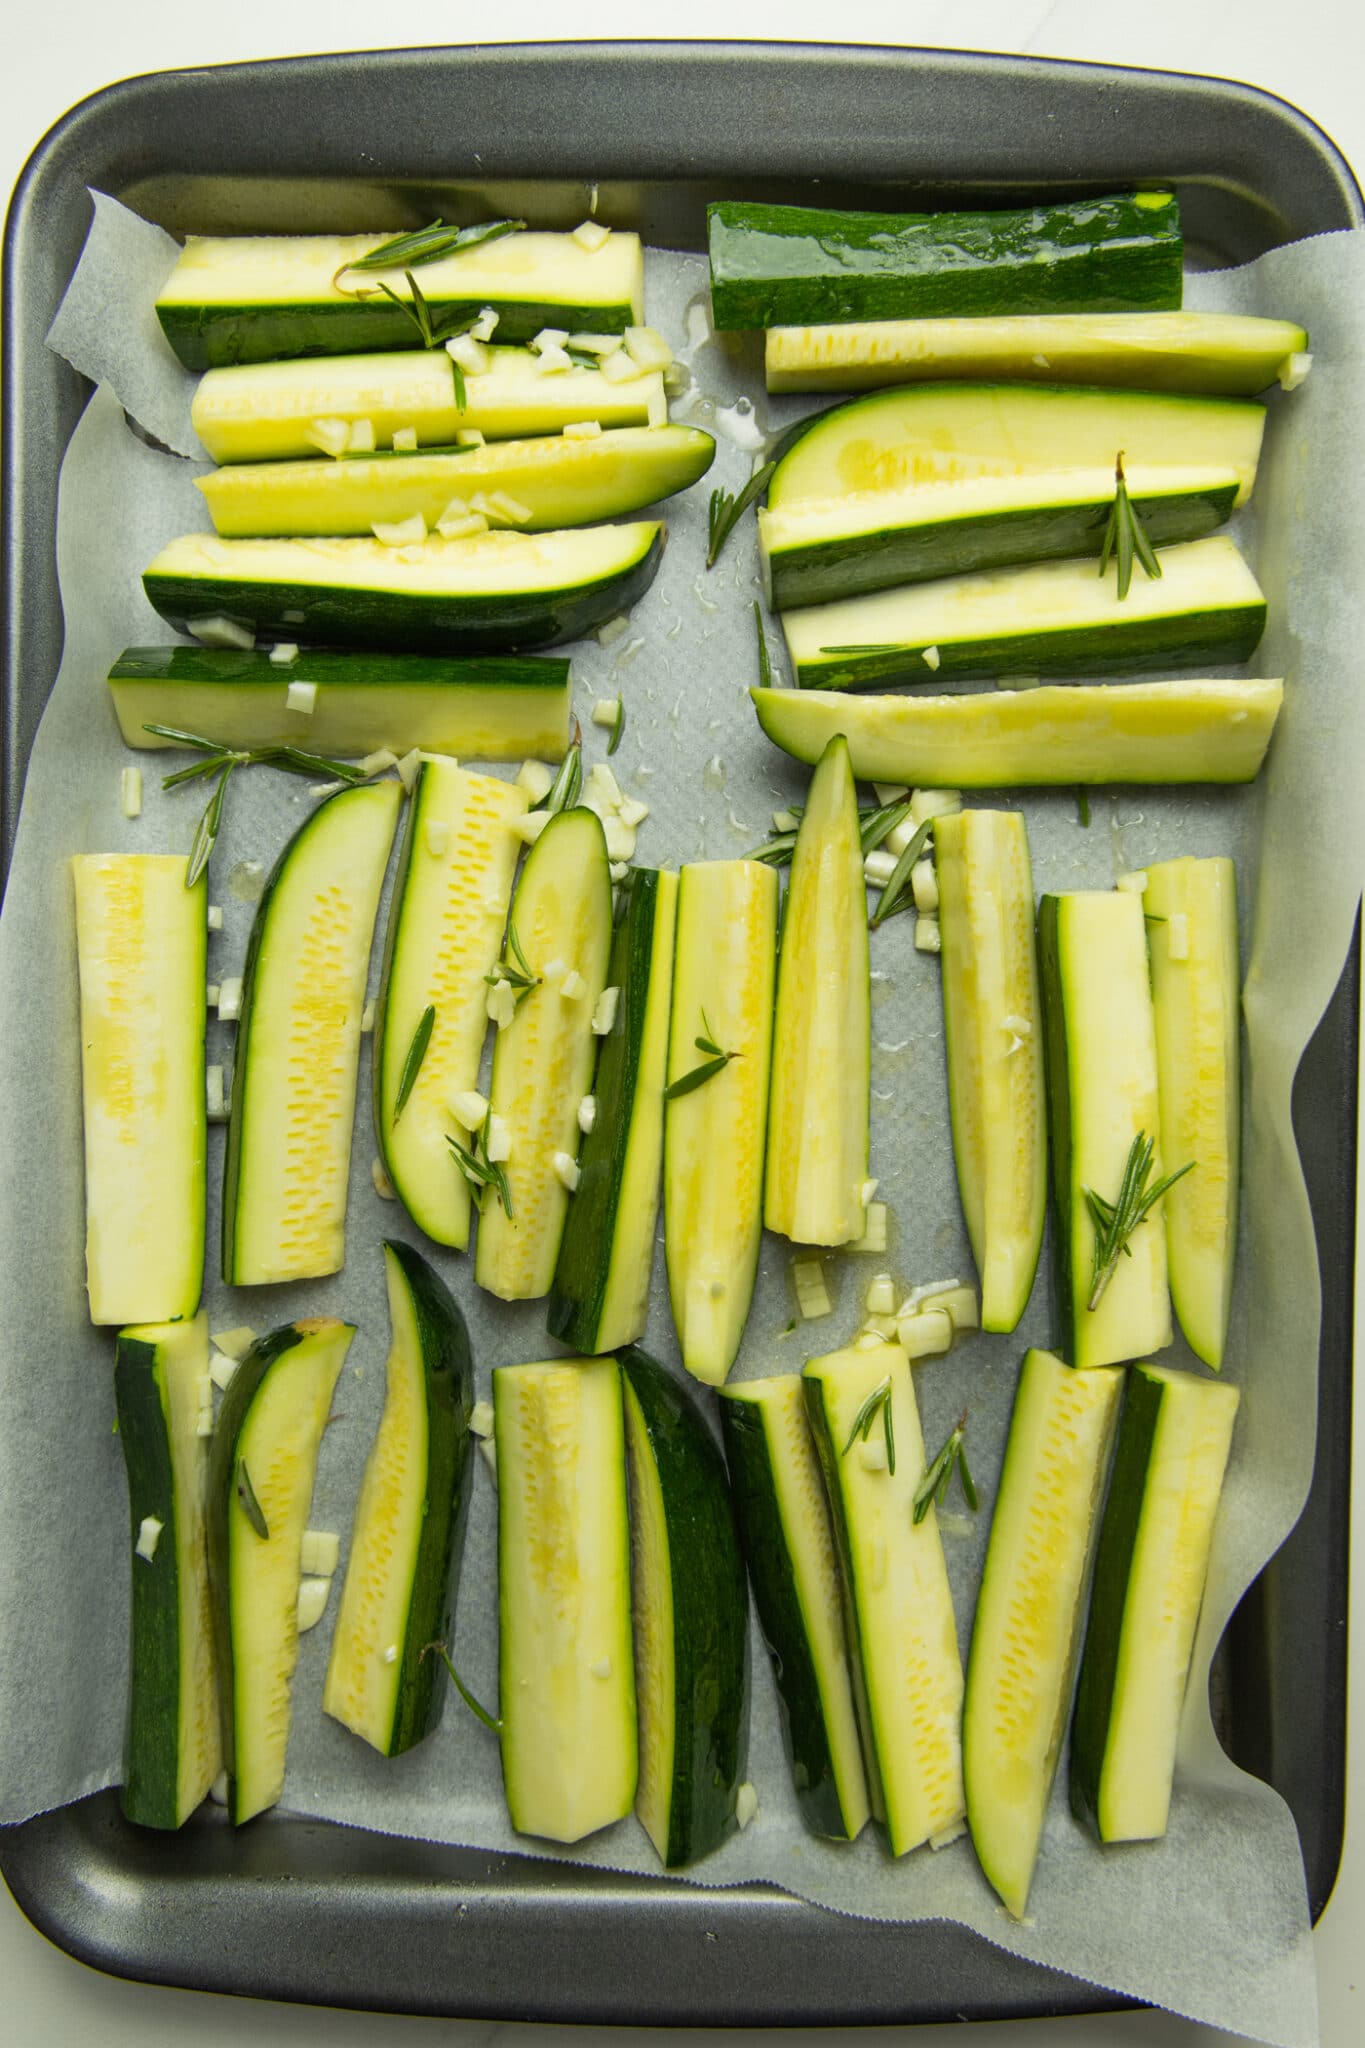
Step 1: Slice the zucchini into wedges. Slice each zucchini in half lengthways, then half lengthways again. Then slice across the middle and then into wedges. Make sure you keep the wedges fairly even in size to ensure that they cook evenly.
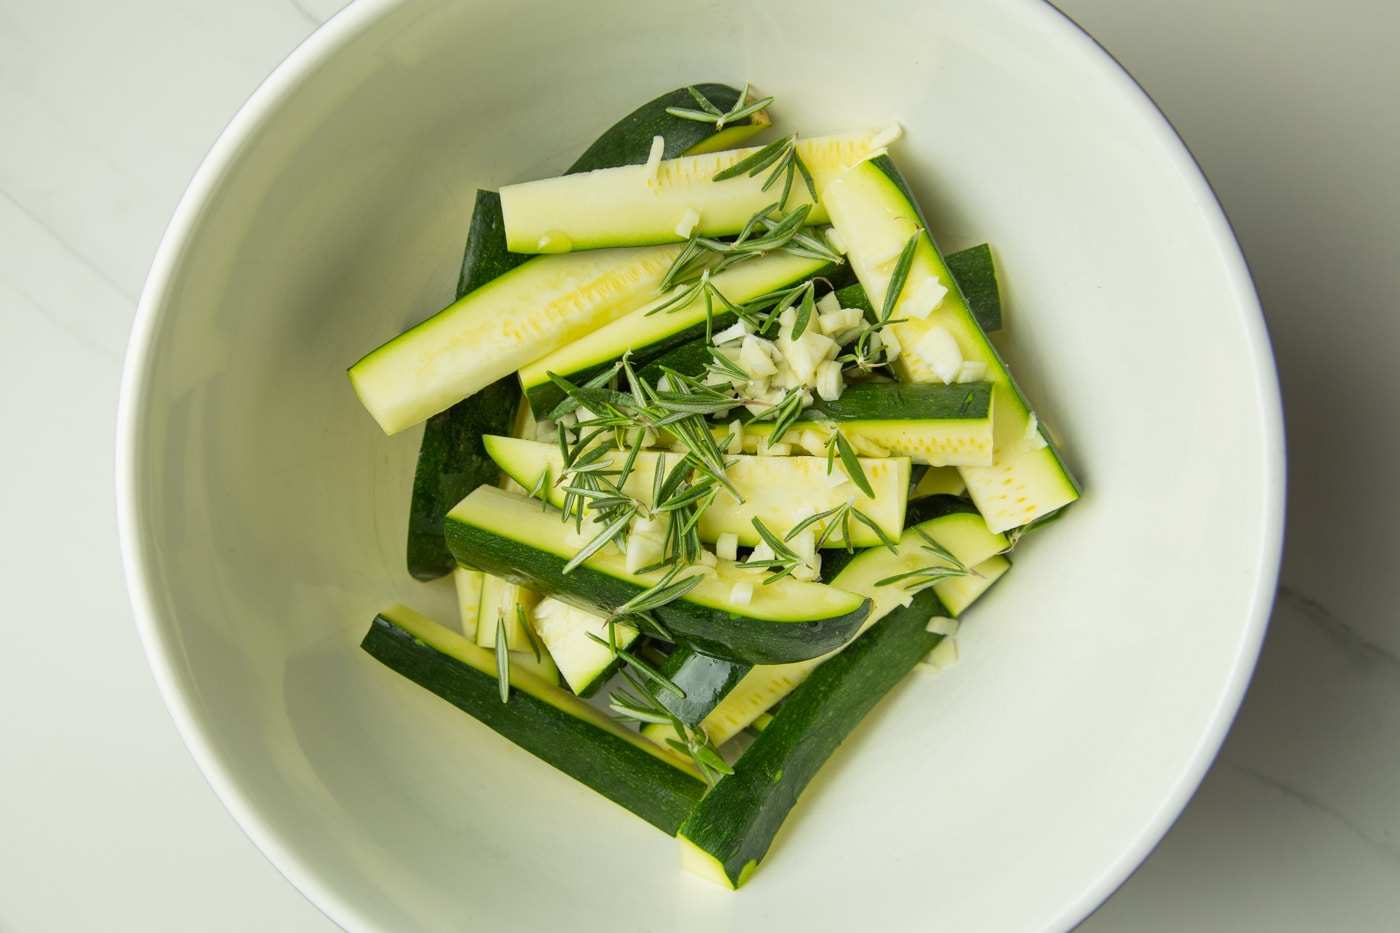
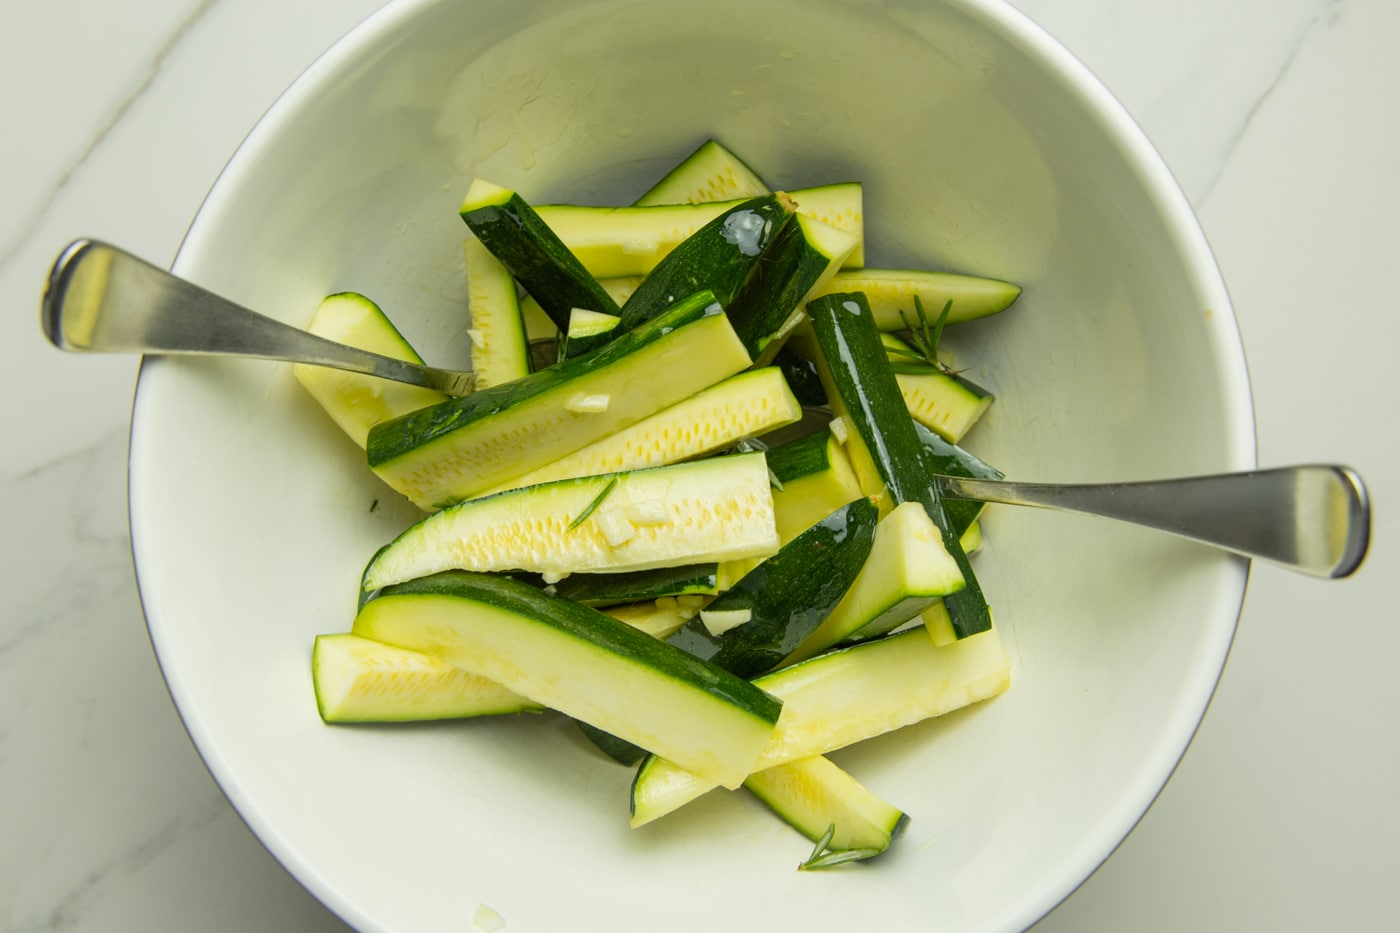
Step 2: Mix the flavours. Add the wedges to a large mixing bowl with the olive oil, garlic, rosemary and salt. Mix thoroughly to ensure that they the wedges are coated well.
Step 3: Add wedges to a baking tray. Place the wedges on baking tray lined with baking paper. Spoon any remaining olive oil, garlic, rosemary and salt from them mixing bowl and add to the baking tray.
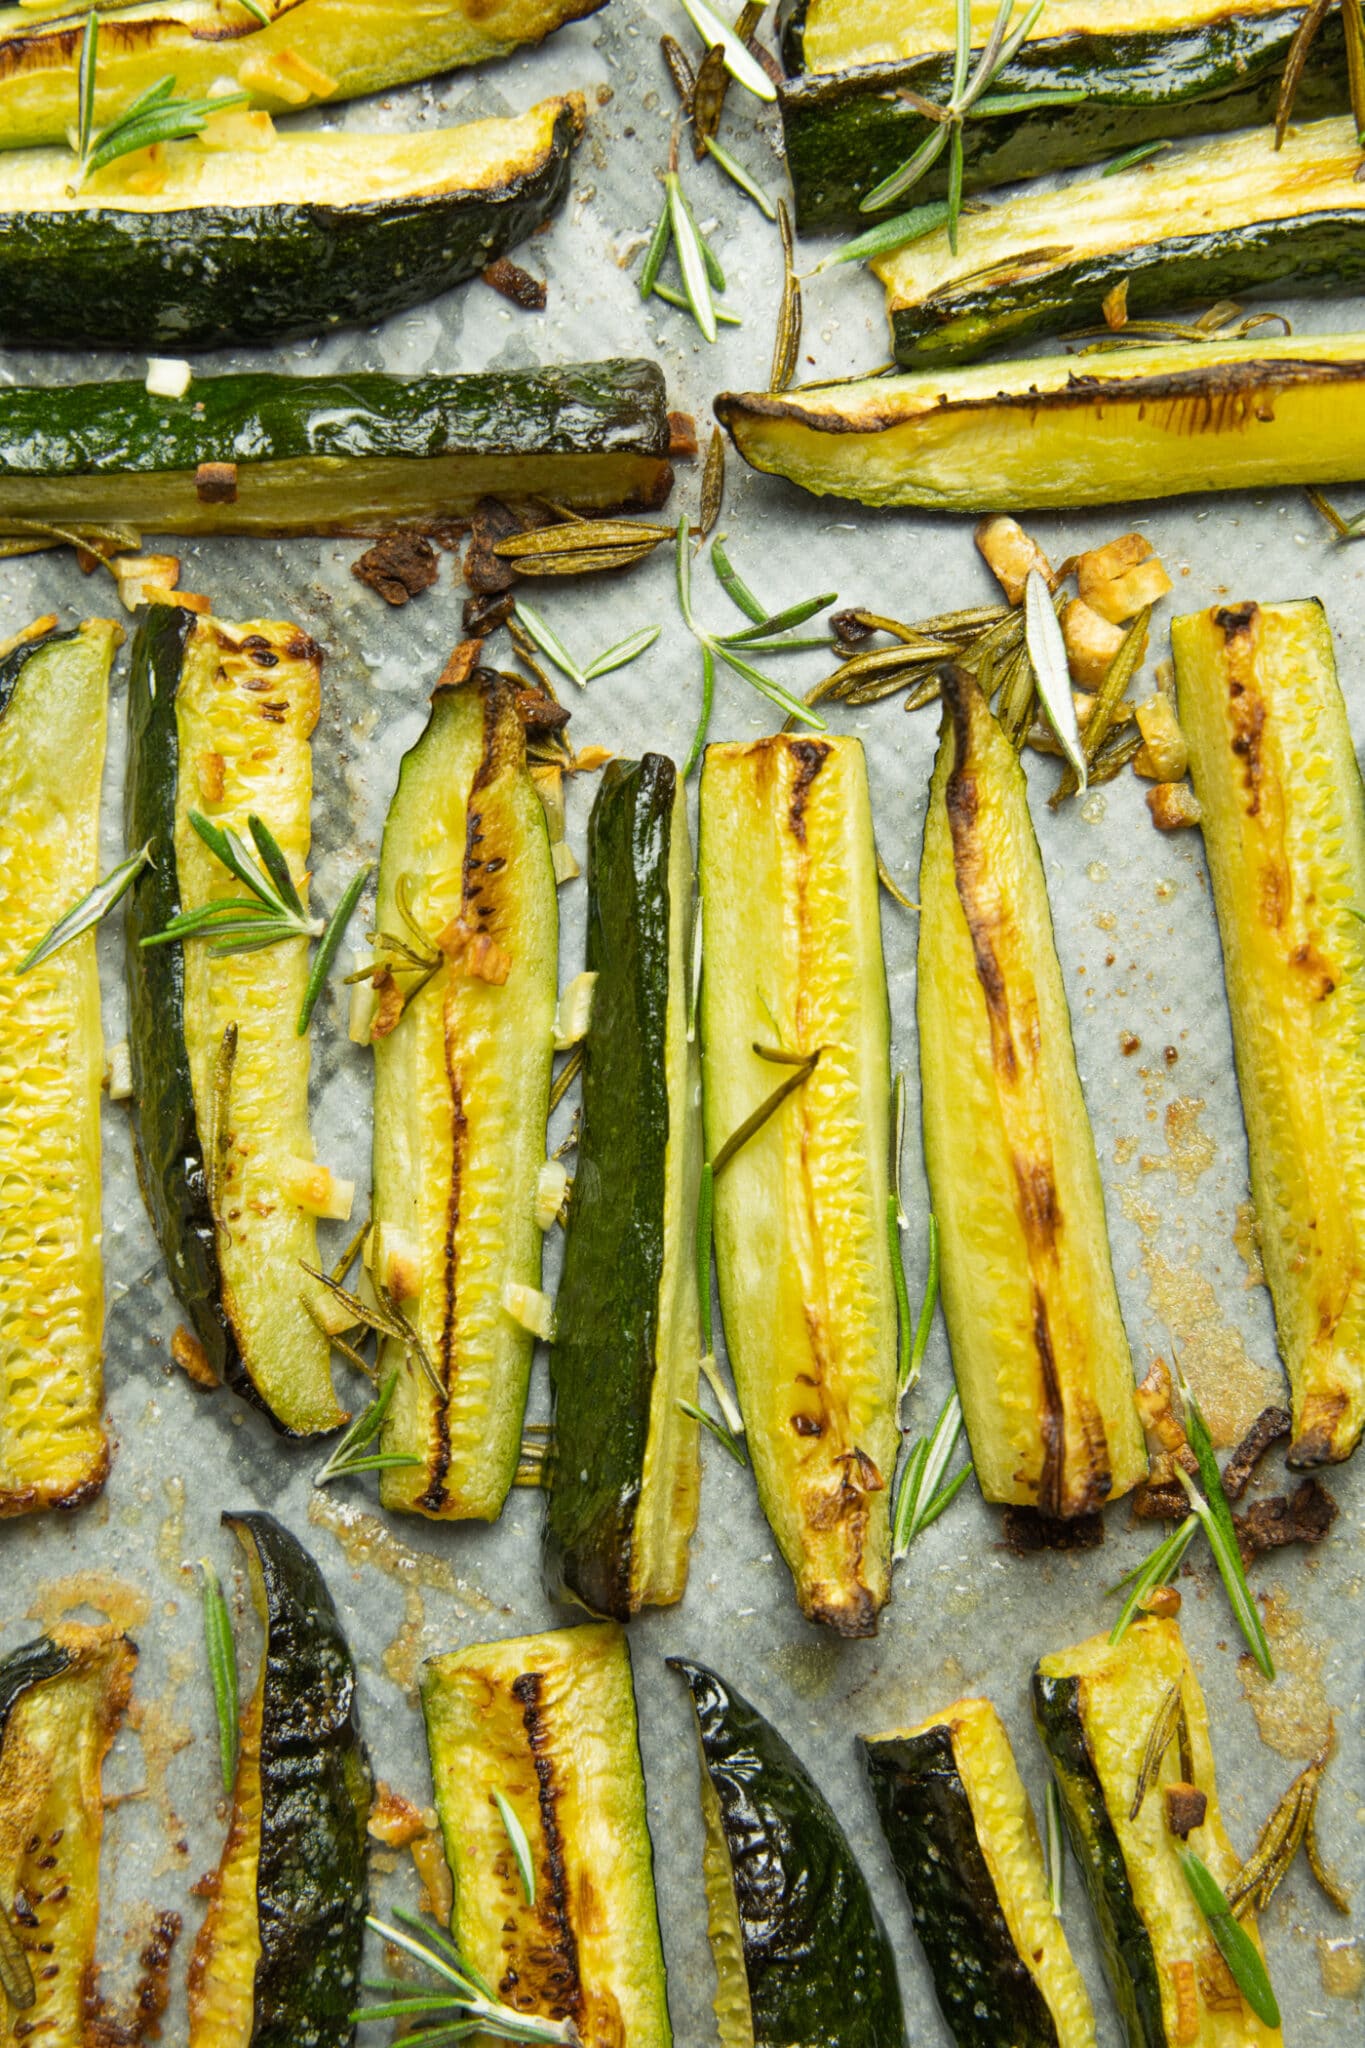
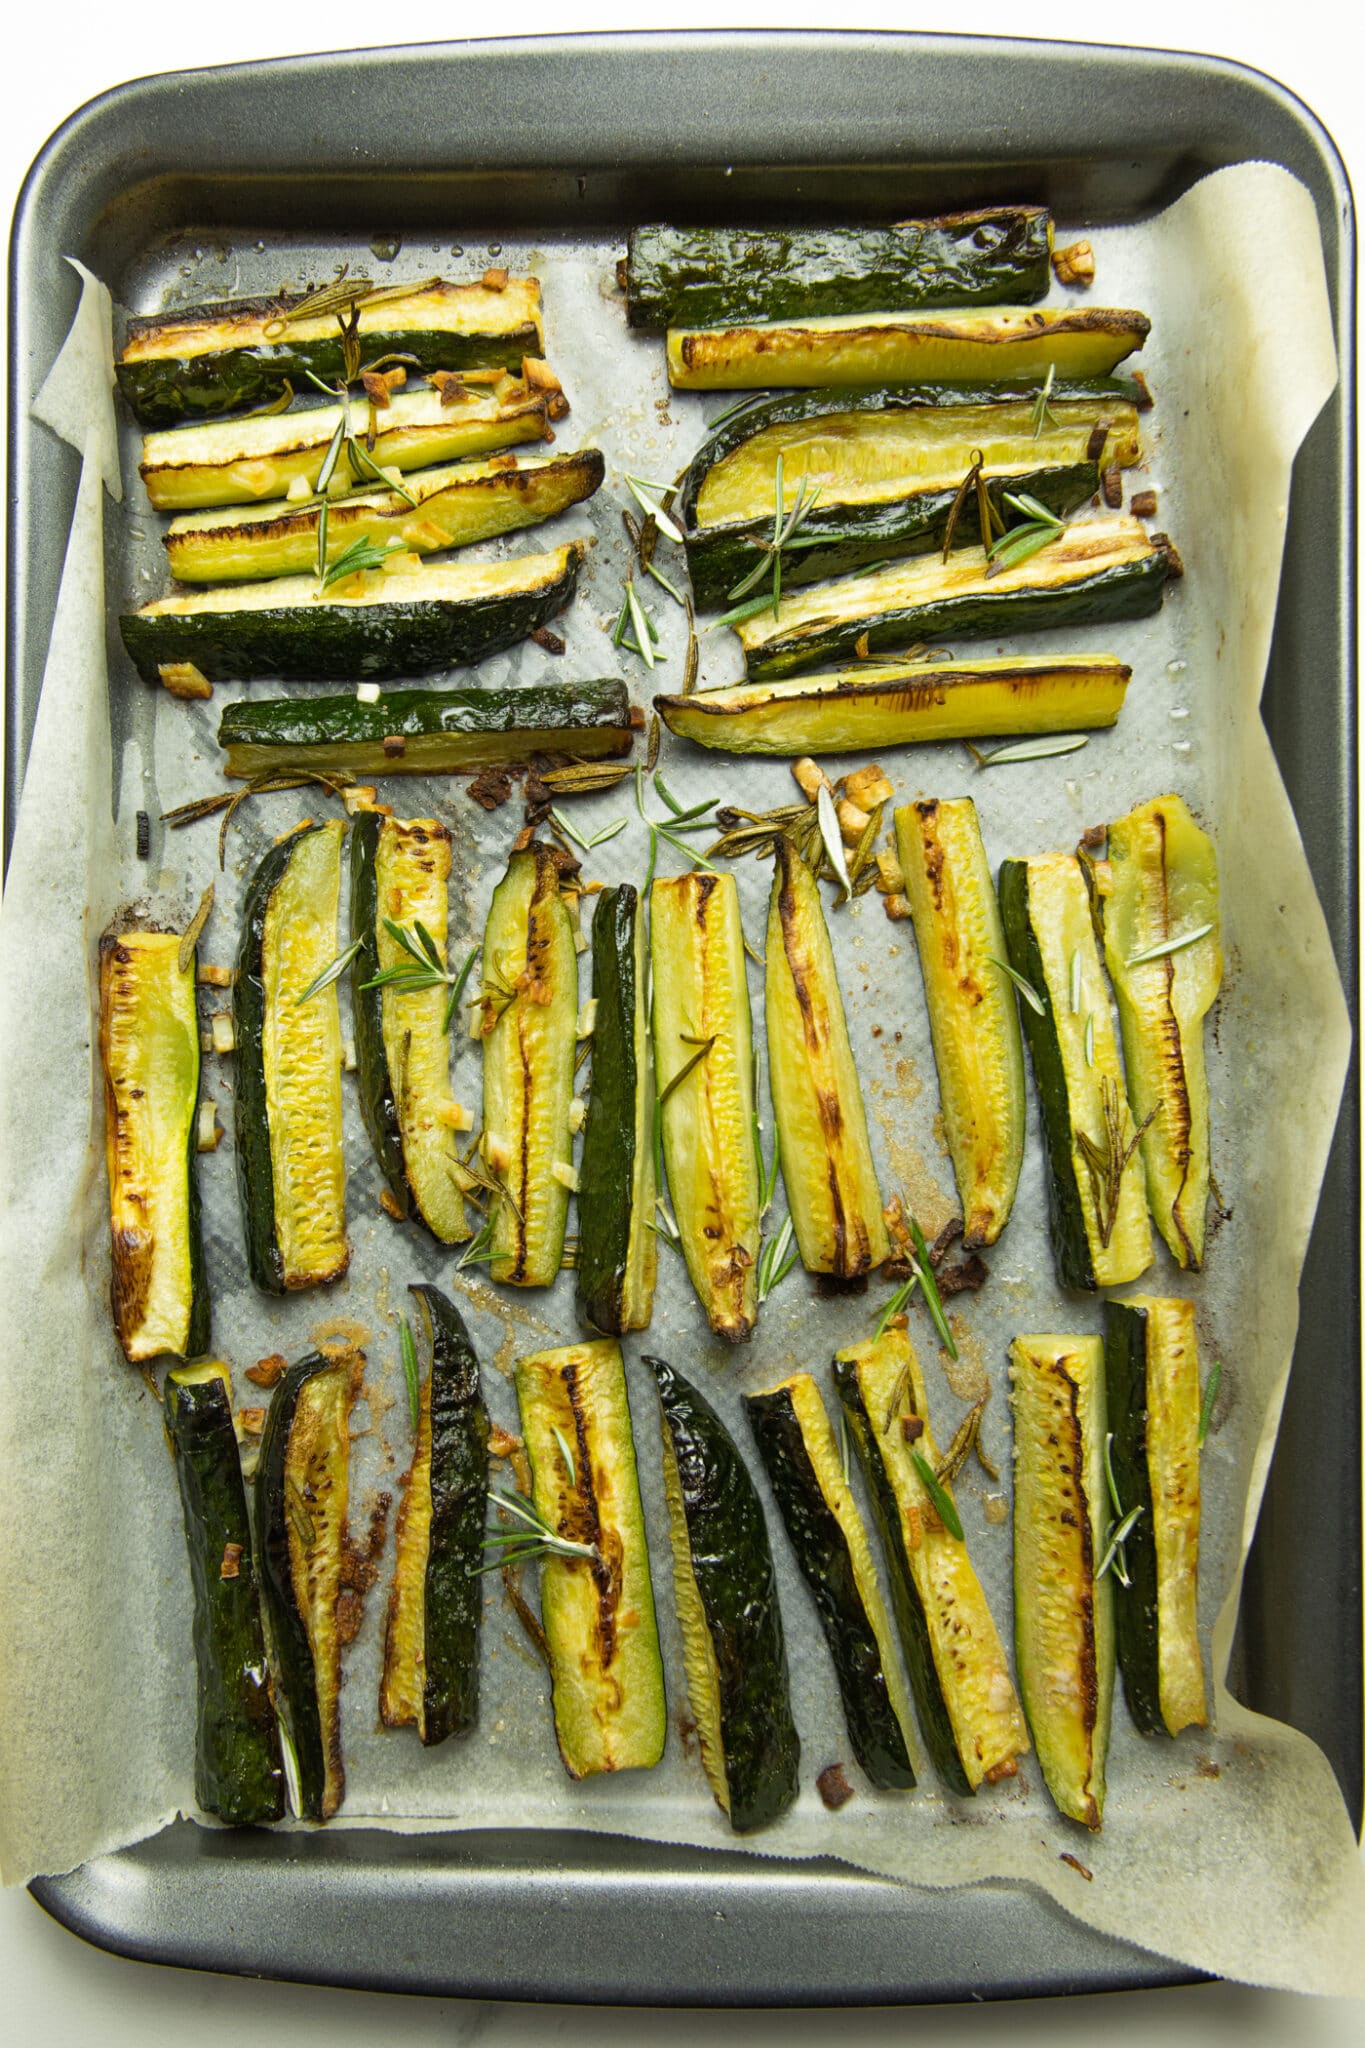
Step 4: Bake in oven. Place the baking tray on the middle rack of oven and cook for 20-25 minutes on 220C|430F or until the edges start to turn golden brown colour and should be slightly crispy.
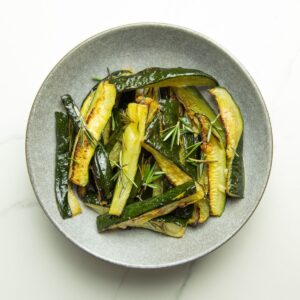
Handy tip: Serve immediately
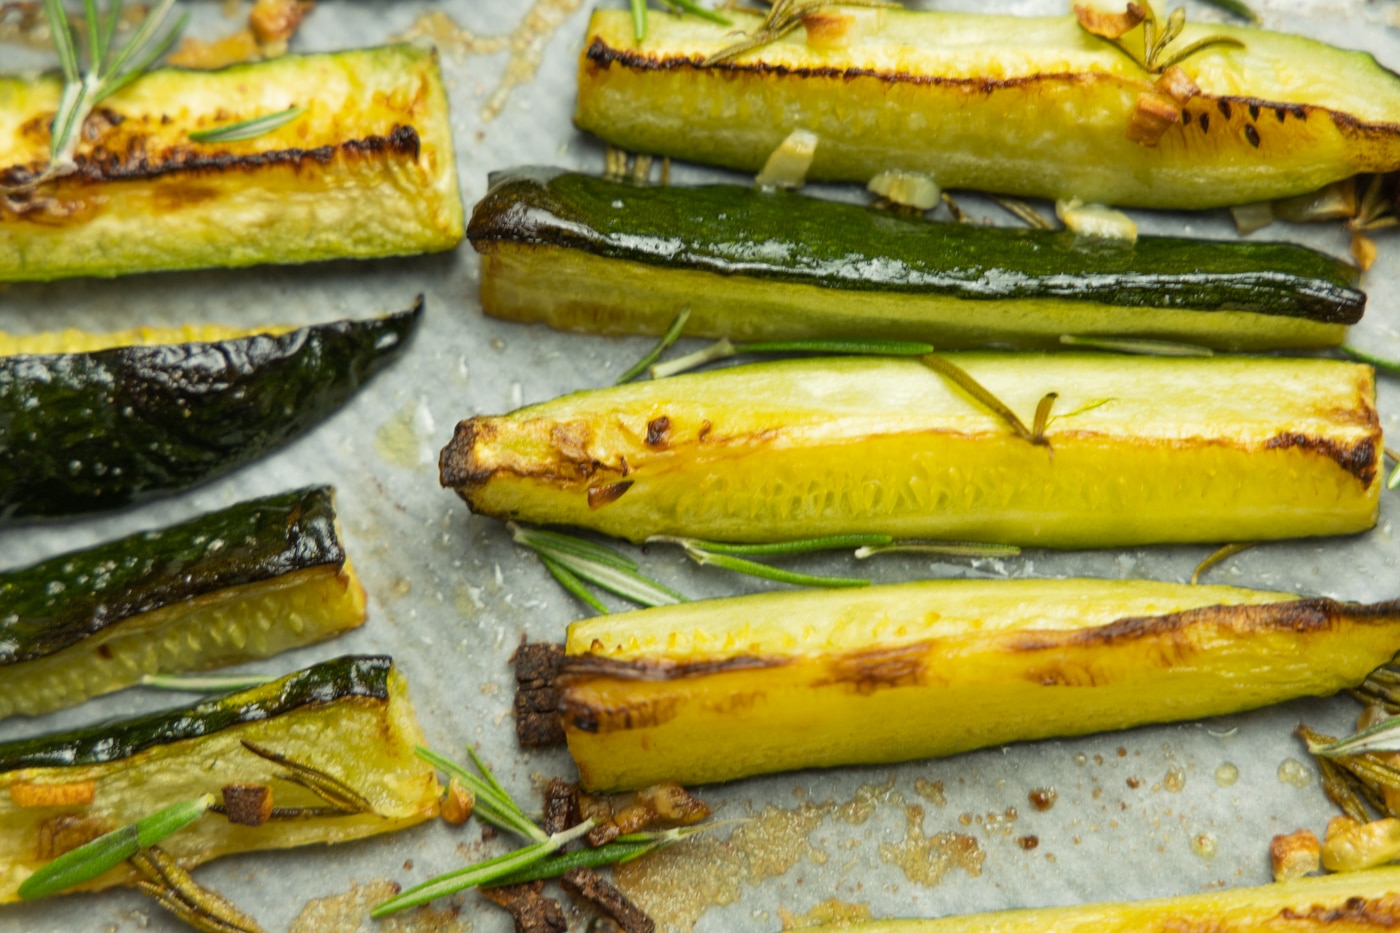
These gluten free zucchini fries are best enjoyed straight away. They should have a slight crispiness to them and if you leave them too long, they may go a bit soggy.
HOW TO MAKE GARLIC AIOLI
INGREDIENTS
- ½ cup blanched almonds or cashews soaked for a minimum 4 hours
- 1-2 cloves garlic minced
- 1 tablespoon organic dijon mustard
- 2 tablespoons lemon juice
- 2 tablespoons olive oil
- ¼ – ½ cup water as needed
- ¼ teaspoon sea salt
HOW TO MAKE
Place all the ingredients (except the water) in a high speed blender and blend until well combined. Then slowly add the water and blend until the garlic aioli has a nice and creamy consistency.
Looking for other similar recipes? Try these:
Baked Garlic Butter Sweet Potato Fries
Healthy Loaded Sweet Potato Fries
Lastly, if you make these zucchini wedges then I would love to hear from you. You can either leave a comment and/or give this recipe a rating! If you do make this recipe, please tag me on Instagram! It really makes my day when I see your creations of my recipes.
Simple Baked Zucchini Wedges
Ingredients
- 2 zucchini medium or large
- 2 garlic cloves minced or sliced thinly
- 2 tablespoons olive oil
- 2-3 sprigs rosemary
- Pinch of salt
Instructions
- Pre-heat oven. Pre-heat your oven to 220 C | 430 F
- Slice the zucchini into wedges. Slice each zucchini in half lengthways, then half lengthways again. Then slice across the middle and then into wedges. Try to ensure that the wedges are fairly even in size.
- Mix the flavours. Add the wedges, olive oil, garlic, rosemary and salt to a large bowl and mix thoroughly.
- Add wedges to a baking tray. Place the wedges on baking tray lined with baking paper. Add any remaining olive oil, garlic, rosemary and salt that is remaining in the bowl to the baking tray.
- Bake in oven. Place the baking tray on the middle rack of oven and cook for 20-25 minutes until the edges start to turn golden.
- Serve immediately.
Notes
- You can use either fresh or dried herbs in this recipe. My favourite way is using fresh rosemary, but oregano, chives or mixed herbs work well too.
- You can use either fresh garlic or garlic powder in this recipe. If using garlic powder, then use 2 teaspoons to replace 2 garlic cloves
- You may need to turn the tray around if you notice the wedges cooking quicker on one side of your oven.
- Serve with garlic aioli or they are pretty tasty on their own.
GARLIC AIOLI
INGREDIENTS
- ½ cups blanched almonds or cashews soaked for a minimum 4 hours
- 1-2 cloves garlic minced
- 1 tablespoon organic dijon mustard
- 2 tablespoons lemon juice
- 2 tablespoons olive oil
- ¼ – ½ cup water as needed
- ¼ teaspoon sea salt
Who says simple can’t be delicious? Had these the other night with some grilled chicken and a little aioli – the family loved em!
That’s so awesome to hear Gavin. Glad the family like them 🙂
What a greatcway to make zucchini extra tasty! I’m going to try these on the kids and call them chips!
I hope they like them Sarah 🙂
My garden is producing SO much zucchini at the moment – this would be the perfect way to use them up, yum!!
I hope you like them Sylvie 🙂